Beginner’s Guide to Cheese Making: Techniques, Tools, and Recipes
Cheese Making: Techniques, Tools, and Recipes
Cheese is one of the world’s oldest and most beloved dairy products. Whether it’s a sharp cheddar, a creamy brie, or a tangy goat cheese, there’s no denying the delicious flavor and versatility of cheese. If you’re interested in learning how to make cheese at home, we’ve put together a beginner’s guide to cheese making that covers everything you need to know, including techniques, tools, and recipes.
Techniques
The process of making cheese involves a few basic steps: curdling the milk, cutting the curd, draining the whey, pressing the cheese, and aging it. There are many different techniques for each step, depending on the type of cheese you want to make, but here are some general guidelines.

1. Curdling the milk: This involves adding an acid or rennet to the milk to cause it to coagulate and form a solid curd. There are two main types of coagulants: acid and rennet. Acid coagulants include lemon juice, vinegar, and citric acid, and are usually used for fresh cheeses like ricotta and paneer. Rennet is a complex of enzymes that is extracted from the stomach lining of young ruminants and is used for most hard and aged cheeses. You can buy rennet in liquid or tablet form from cheese making supply stores.
2. Cutting the curd: After the milk has been curdled, you need to cut the curd into small pieces to release the whey. The size of the curd depends on the type of cheese you’re making, but as a general rule, the curd should be cut into small pieces the size of rice grains for soft cheese and larger, 1-inch pieces for harder cheese.
3. Draining the whey: Once the curd has been cut, you need to drain the whey (the liquid portion) away from the curd. This can be done using a cheesecloth-lined colander or cheese mold. Soft cheese may only need to be drained for a few minutes, while harder cheese may need to be drained for several hours.
4. Pressing the cheese: After the whey has been drained, the cheese needs to be pressed to remove any remaining moisture and give it shape. This can be done using weights or a cheese press. The amount of pressure needed depends on the type of cheese, but as a general rule, the weight should be increased gradually over time.
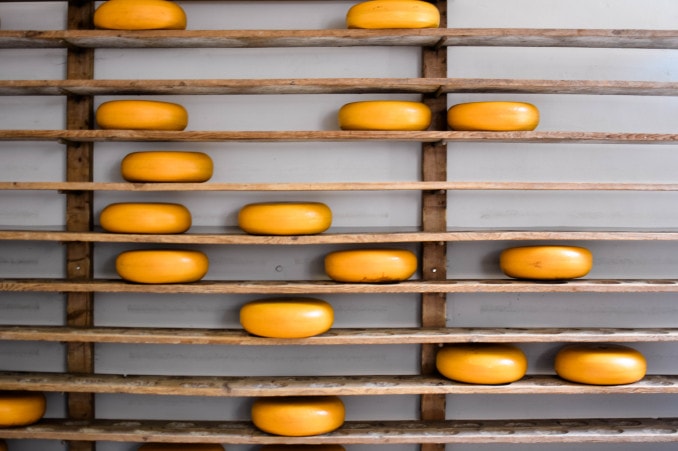
5. Aging the cheese: Finally, the cheese needs to be aged to develop its flavor and texture. This can be done in a cheese cave or refrigerator, depending on the type of cheese.
Tools
If you’re serious about making cheese, you’ll need some specialized tools. Here are a few essentials:
– A large pot: You’ll need a large stainless steel or enamel-coated pot to heat and curdle the milk.
– A thermometer: Milk needs to be heated to a specific temperature depending on the type of cheese you’re making, so a good thermometer is essential.
– A cheesecloth: Cheesecloth is used to line molds and strain curds.
– A cheese mold: This is used to shape the cheese and apply pressure during the pressing stage.
– A cheese press: A cheese press is used to apply pressure to the cheese during the pressing stage.
– A cheese knife: A sharp knife is essential for cutting the cheese.
Recipes
Now that you know the basics, it’s time to try your hand at making cheese! Here are a few easy recipes to get you started:
1. Ricotta Cheese: Combine 4 cups of whole milk, 1 cup of heavy cream, and 1/2 teaspoon of salt in a large pot. Heat the milk to 180°F, stirring occasionally. Turn off the heat and add 3 tablespoons of lemon juice. Let sit for 10 minutes, then strain through cheesecloth and refrigerate.
2. Mozzarella Cheese: Follow the ricotta recipe above, but instead of using lemon juice, use 1/2 teaspoon of citric acid dissolved in 1/4 cup of cold water. Heat the curds to 105°F, then drain and shape into a ball. Place the ball in a bowl of hot water for a few minutes to make it stretchy and pliable.
3. Cheddar Cheese: Combine 2 gallons of whole milk and 1 packet of mesophilic starter culture in a large pot. Heat the milk to 86°F, then add 1/4 teaspoon of rennet diluted in 1/4 cup of cold water. Let sit for 30-60 minutes, then cut the curd and drain the whey. Press the cheese for 12-24 hours, then age in a cheese cave or refrigerator for 3-6 months.
Conclusion
Cheese making can be a fun and rewarding hobby. With a little practice and the right tools and ingredients, you can make delicious homemade cheese that rivals anything you can buy at the store. So why not give it a try?


